Introduction
Setting up a local server environment and then installing WordPress is a good way to develop your blog on your computer before going live and avoiding many iterations of it being uploaded to your web host and published on the internet.
We’ll first install XAMPP on your PC, then WordPress, a database in phpMyAdmin, then configure your WordPress installation details, including login details.
Install XAMPP
XAMPP is a local server environment with PHP, MySQL and Apache components supported. When installed, it will allow you to imitate a live web server.
XAMPP can be downloaded from http://www.apachefriends.org/ by clicking download.
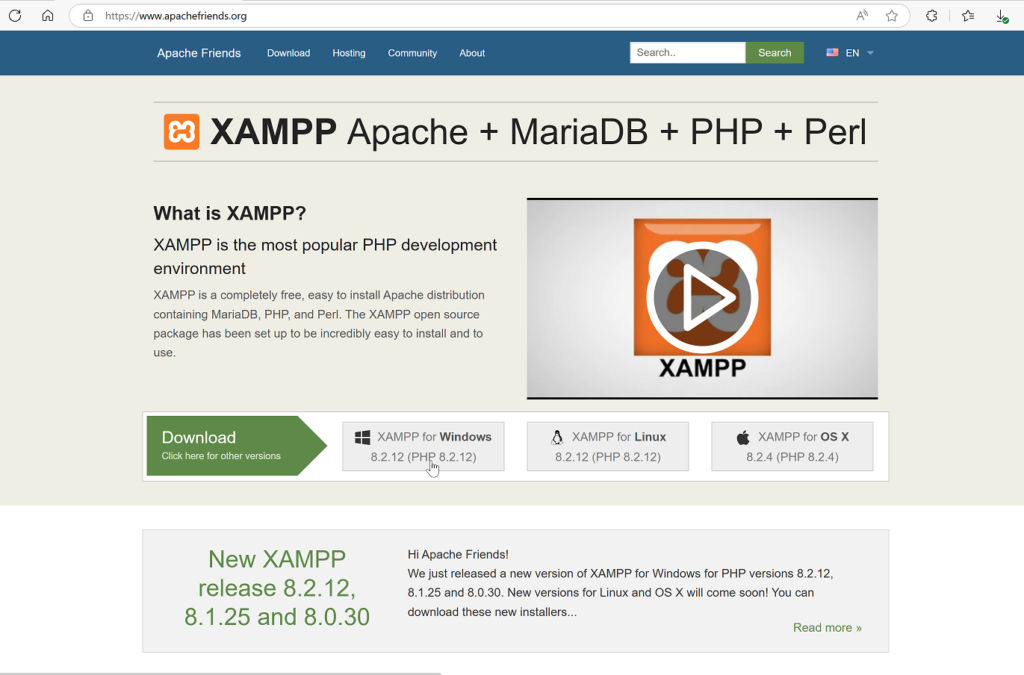
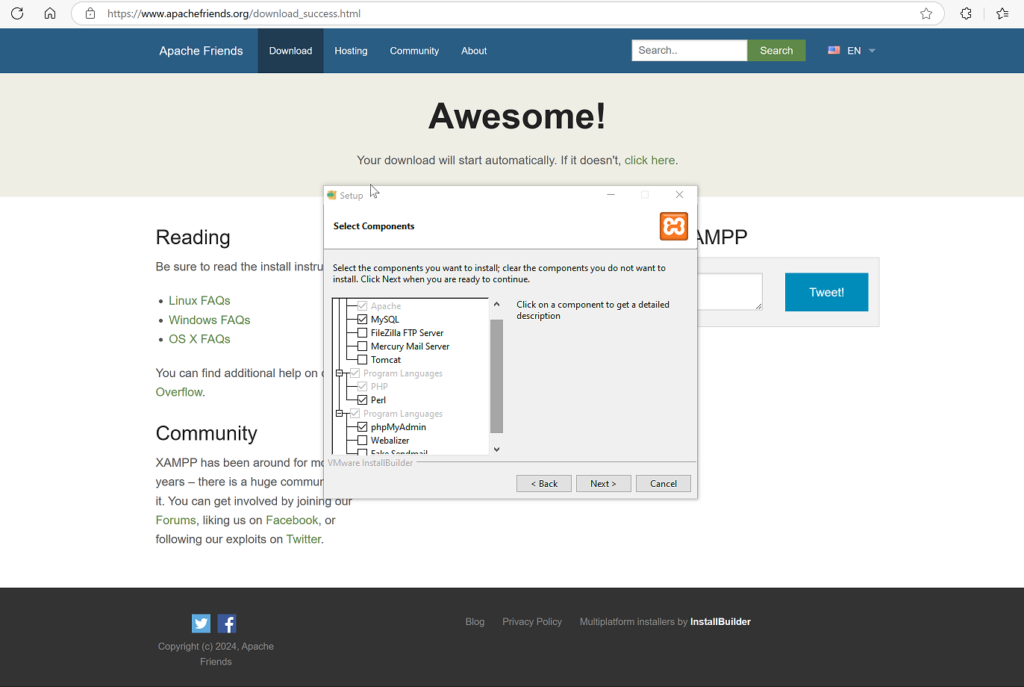
Open the installer and continue the installation. For our purposes, at the screen asking you to select components, we will install the MySQL, Perl and phpMyAdmin components.
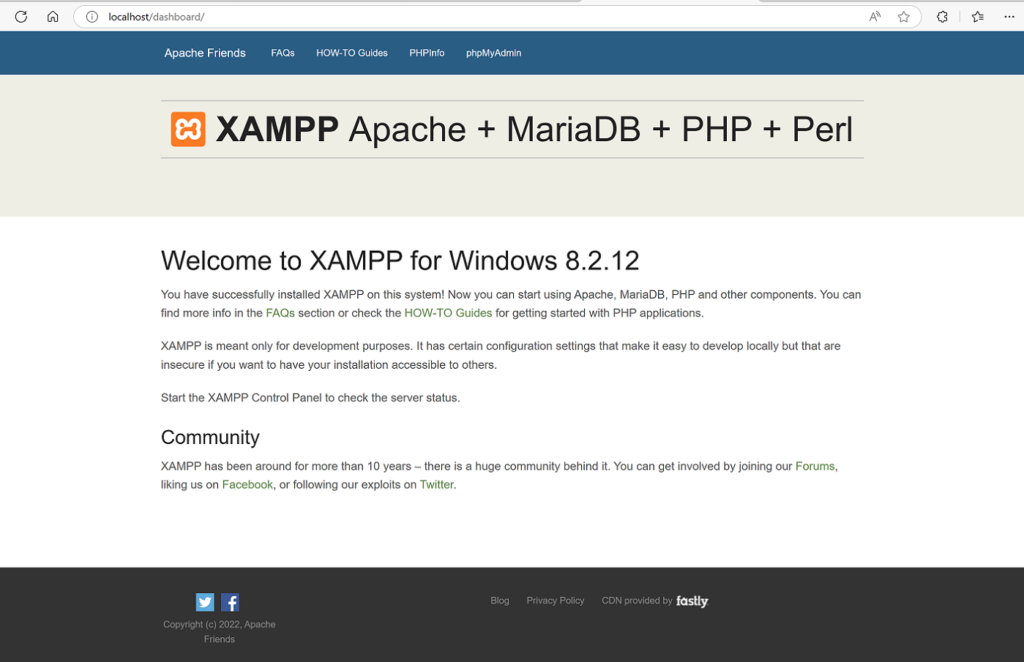
After installing it, typing “localhost” into your browser will redirect you to the XAMPP dashboard, where it will show a message that XAMPP has been installed.
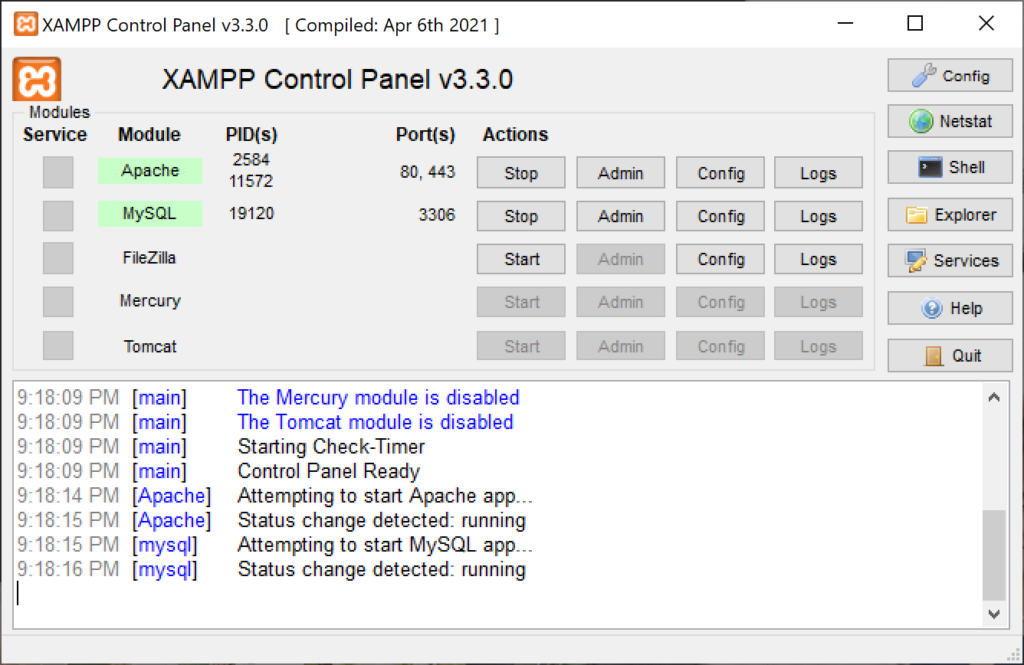
XAMPP should be started each time you want to work on your local development server and click start next to Apache and MySQL each time you load it.
Install WordPress
WordPress is a popular web CMS or content management system used by millions of websites. Installing WordPress will allow you to run a WordPress website or blog and doing this in a local server environment will allow you to work on it locally on your computer.
To get started installing WordPress, it can be downloaded by going to http://wordpress.org/ and clicking “Get WordPress”.
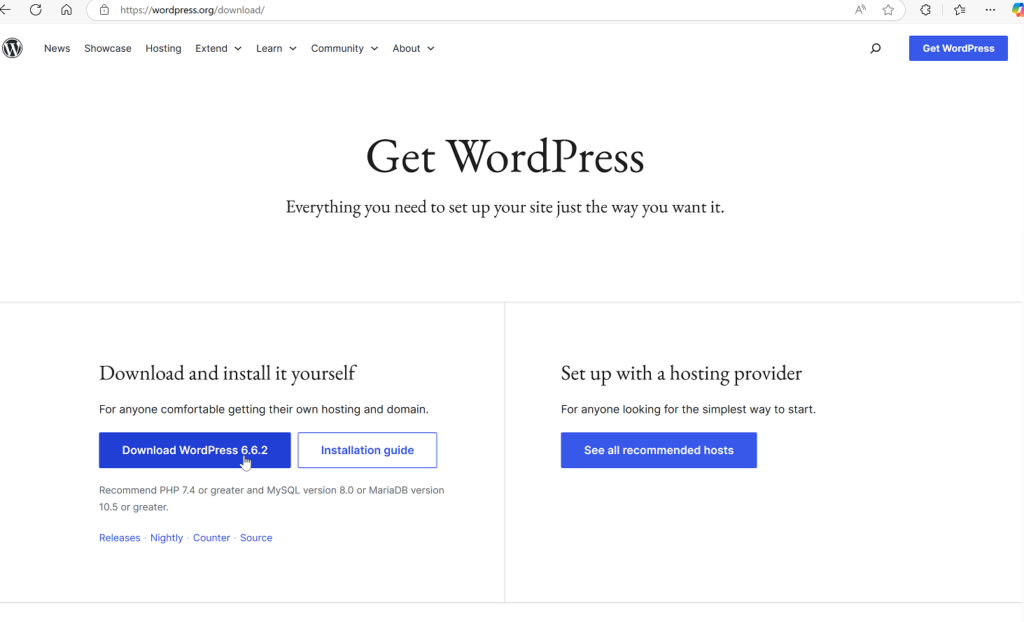
Click download WordPress and when the zip file has downloaded, move it to the htdocs folder in your XAMPP folder (XAMPP is by default installed in C:/ drive)
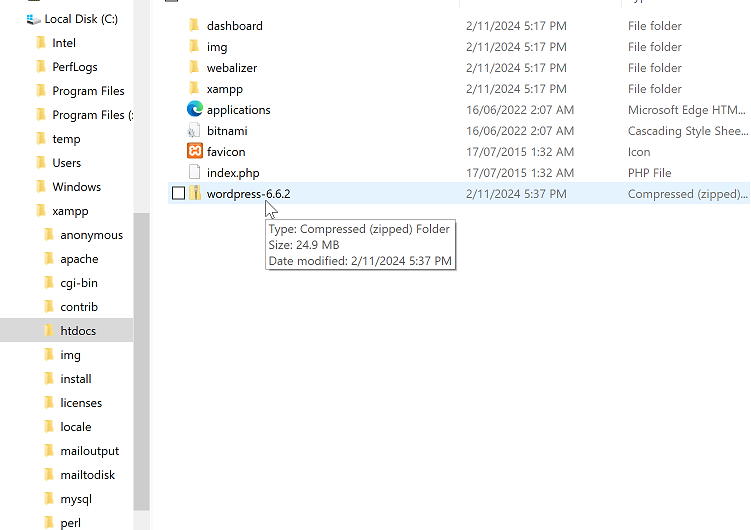
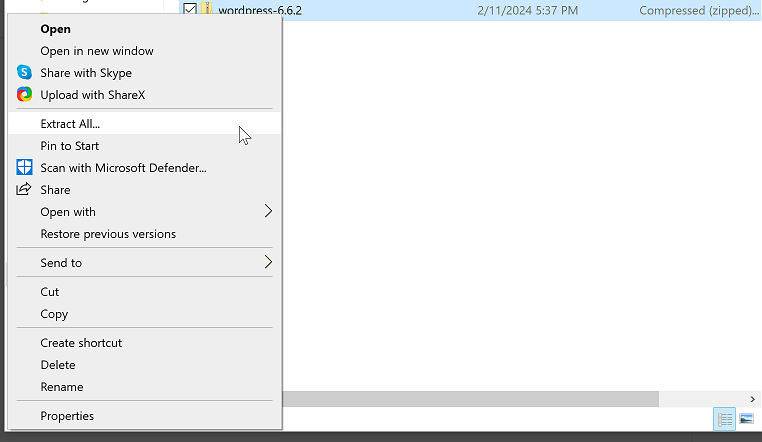
Right click it and select “Extract All…”.
Extract the folder by clicking extract.
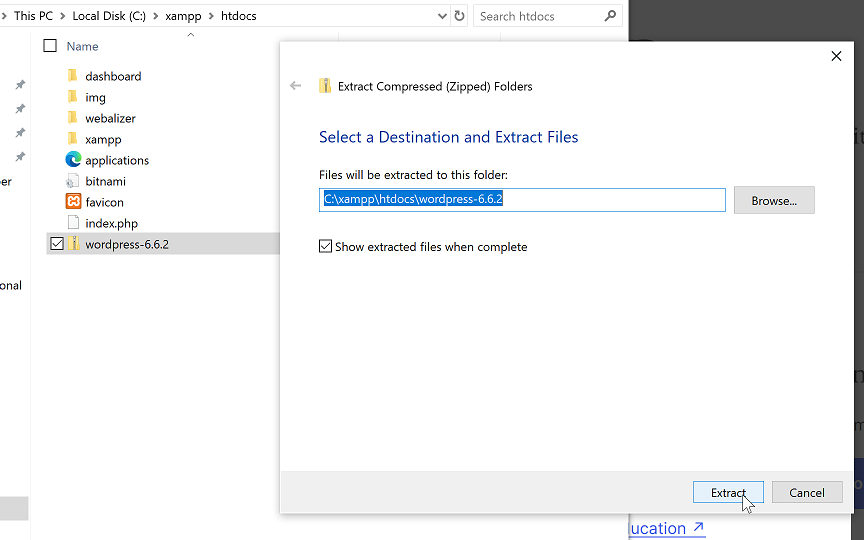
The extracted folder will now be in the htdocs folder.
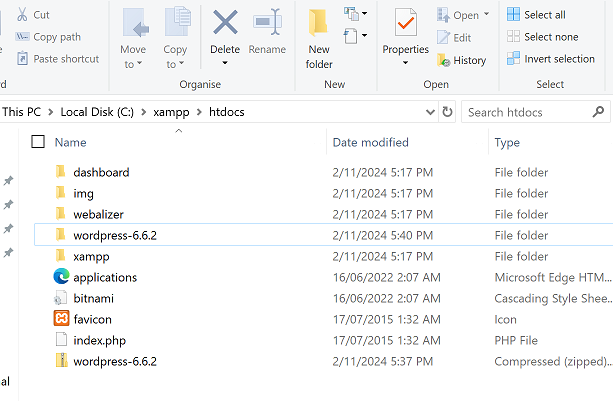
Open the folder, right click on the WordPress folder and cut it, navigate back to the htdocs folder and paste it.
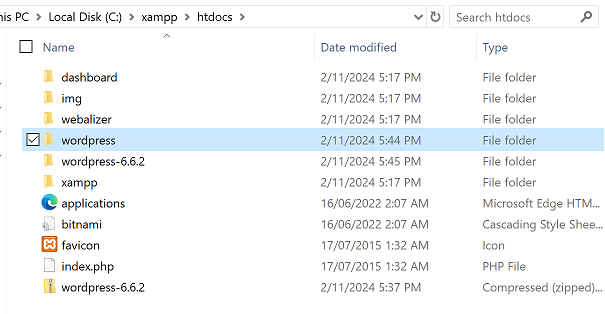
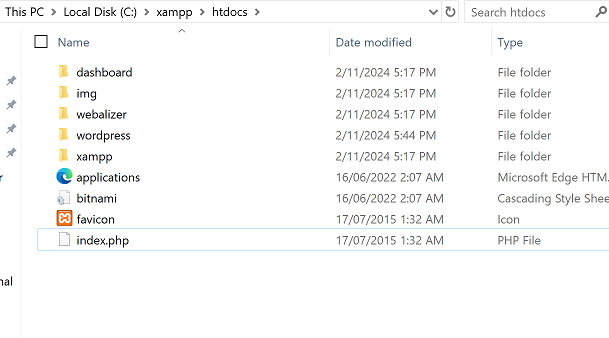
The empty extracted folder and the original zip folder can now be deleted.
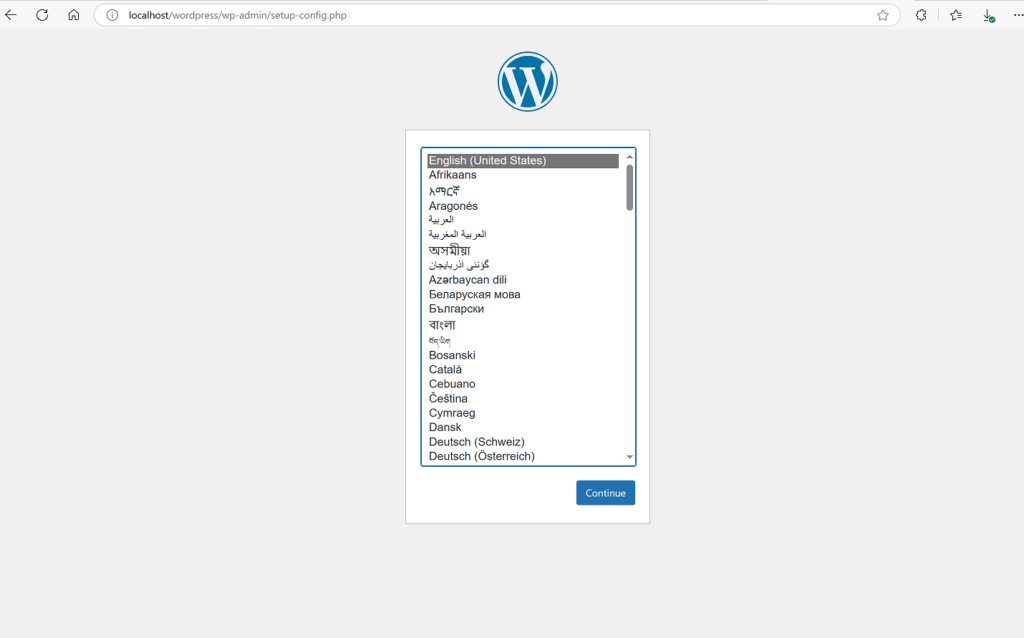
If successful so far, typing “localhost/wordpress” in your browser will bring up the WordPress installation guide.
Before continuing, a database needs to be created. To do this in phpMyAdmin, type “localhost/phpmyadmin” in your browser.
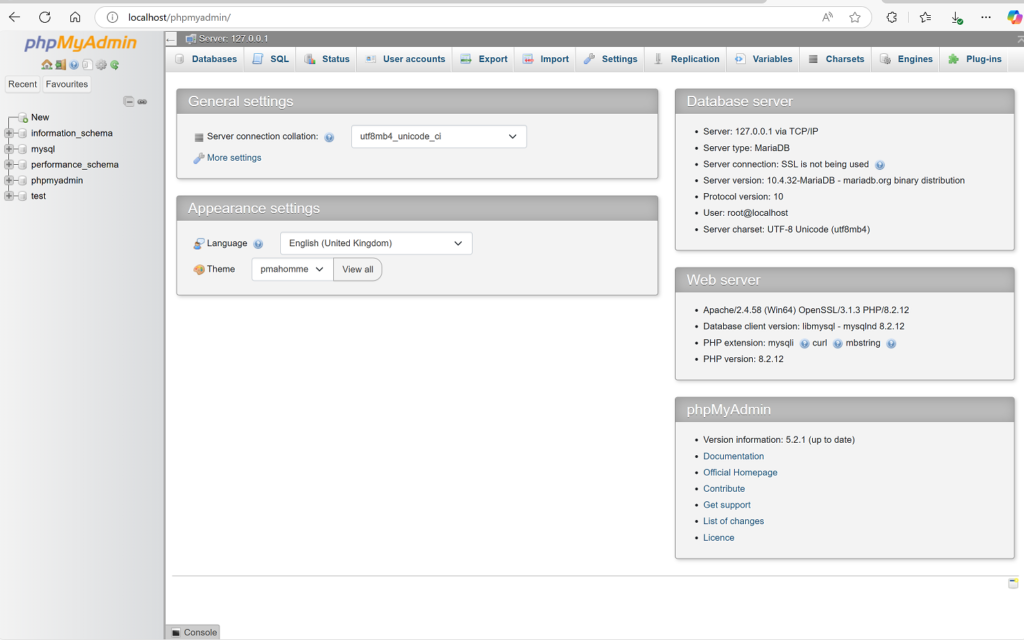
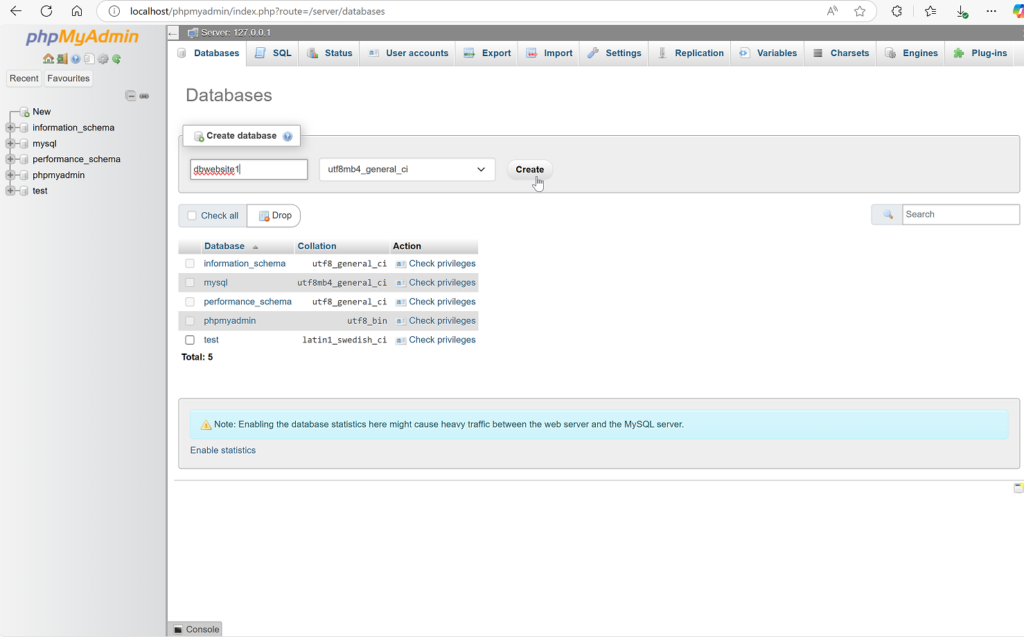
Navigate to databases and under create database, type a name for your database and click create.
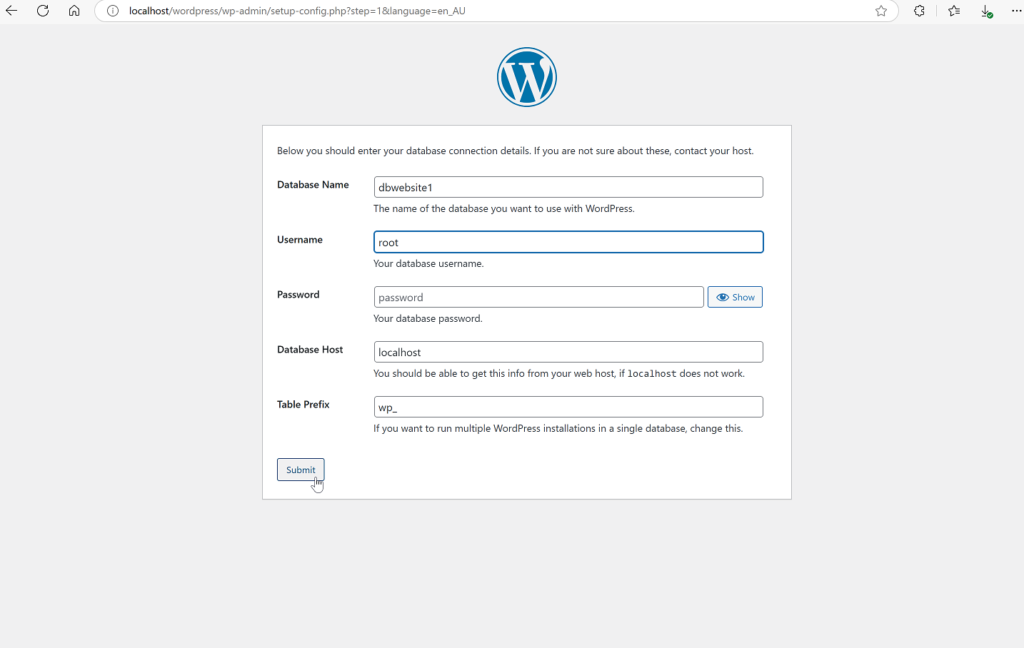
Return to “localhost/wordpress” in your browser and navigate to the next page. Enter your database name and root for username, then click submit.
Enter your WordPress login details as you would like them.
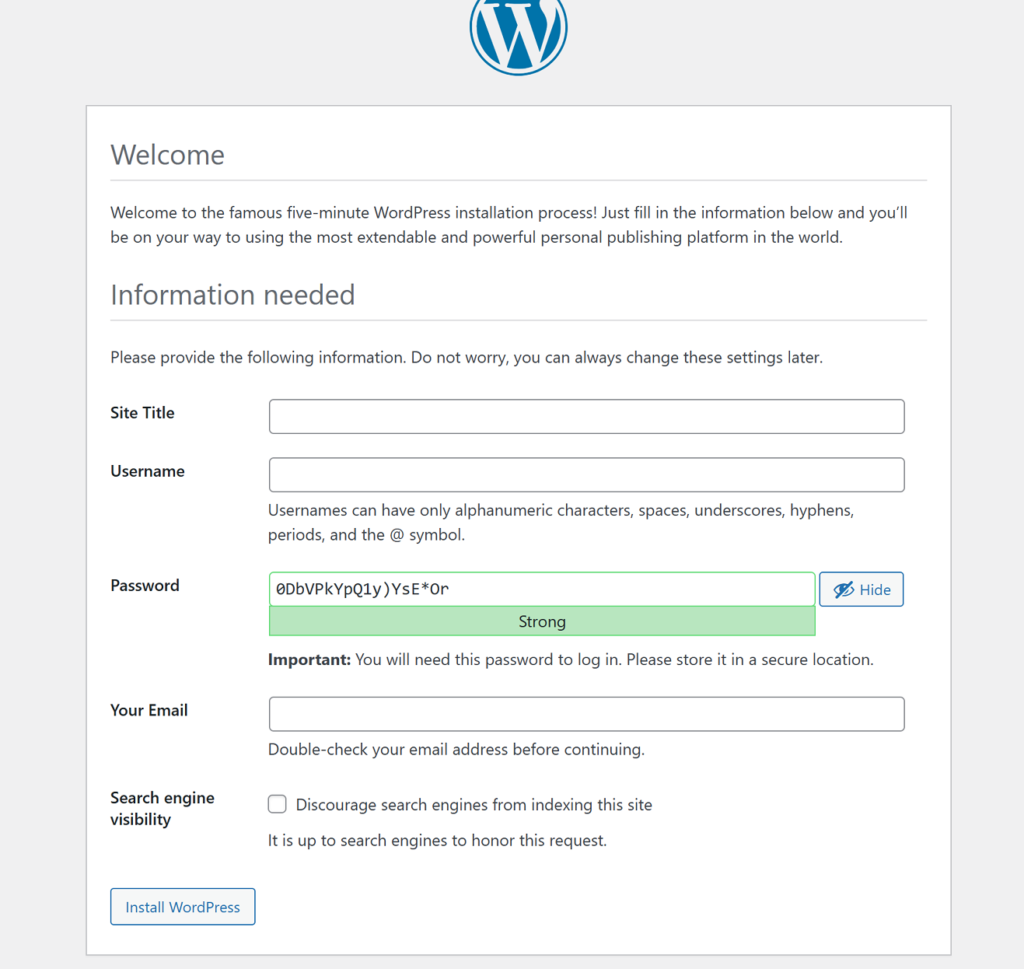
Note: Save database and login details somewhere in case you forget them.
Your site so far can be accessed at “localhost/wordpress”.
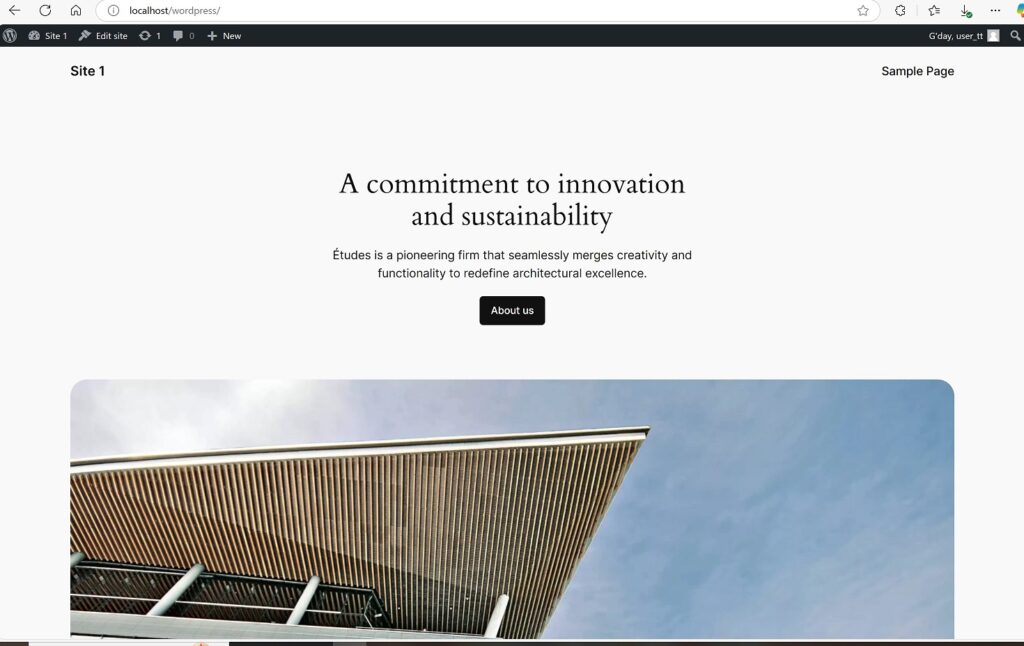
To access the admin section in WordPress, type “localhost/wordpress/wp-admin” in your browser and enter your credentials.

